Friday, August 19, 2011

Lighting Repurpose

Lighting in a room is something that can drastically change not only the look of a room, but also the atmosphere.  Thankfully there are a lot of options out there to try.  Sometimes though, lots of options also means the question of, "Where do I start?" comes out.  Another issue is price.  While shopping for a new light I was surprised with how much a shade can cost.  Finally, it occurred to me that I didn't have to love the color, all I needed to worry about was the shape of the shade, and from there I could create!

Lately I have had this love of burlap...bet you couldn't tell that from any of the last posts.  Anyway, I knew I wanted to re-create a desk lamp, and make it look less 'store-bought,' and more unique.  I started off with a white base, and a white lamp shade.

Supplies Needed:
Lamp and Shade to Repurpose
Paint
Burlap
Hot Glue Gun
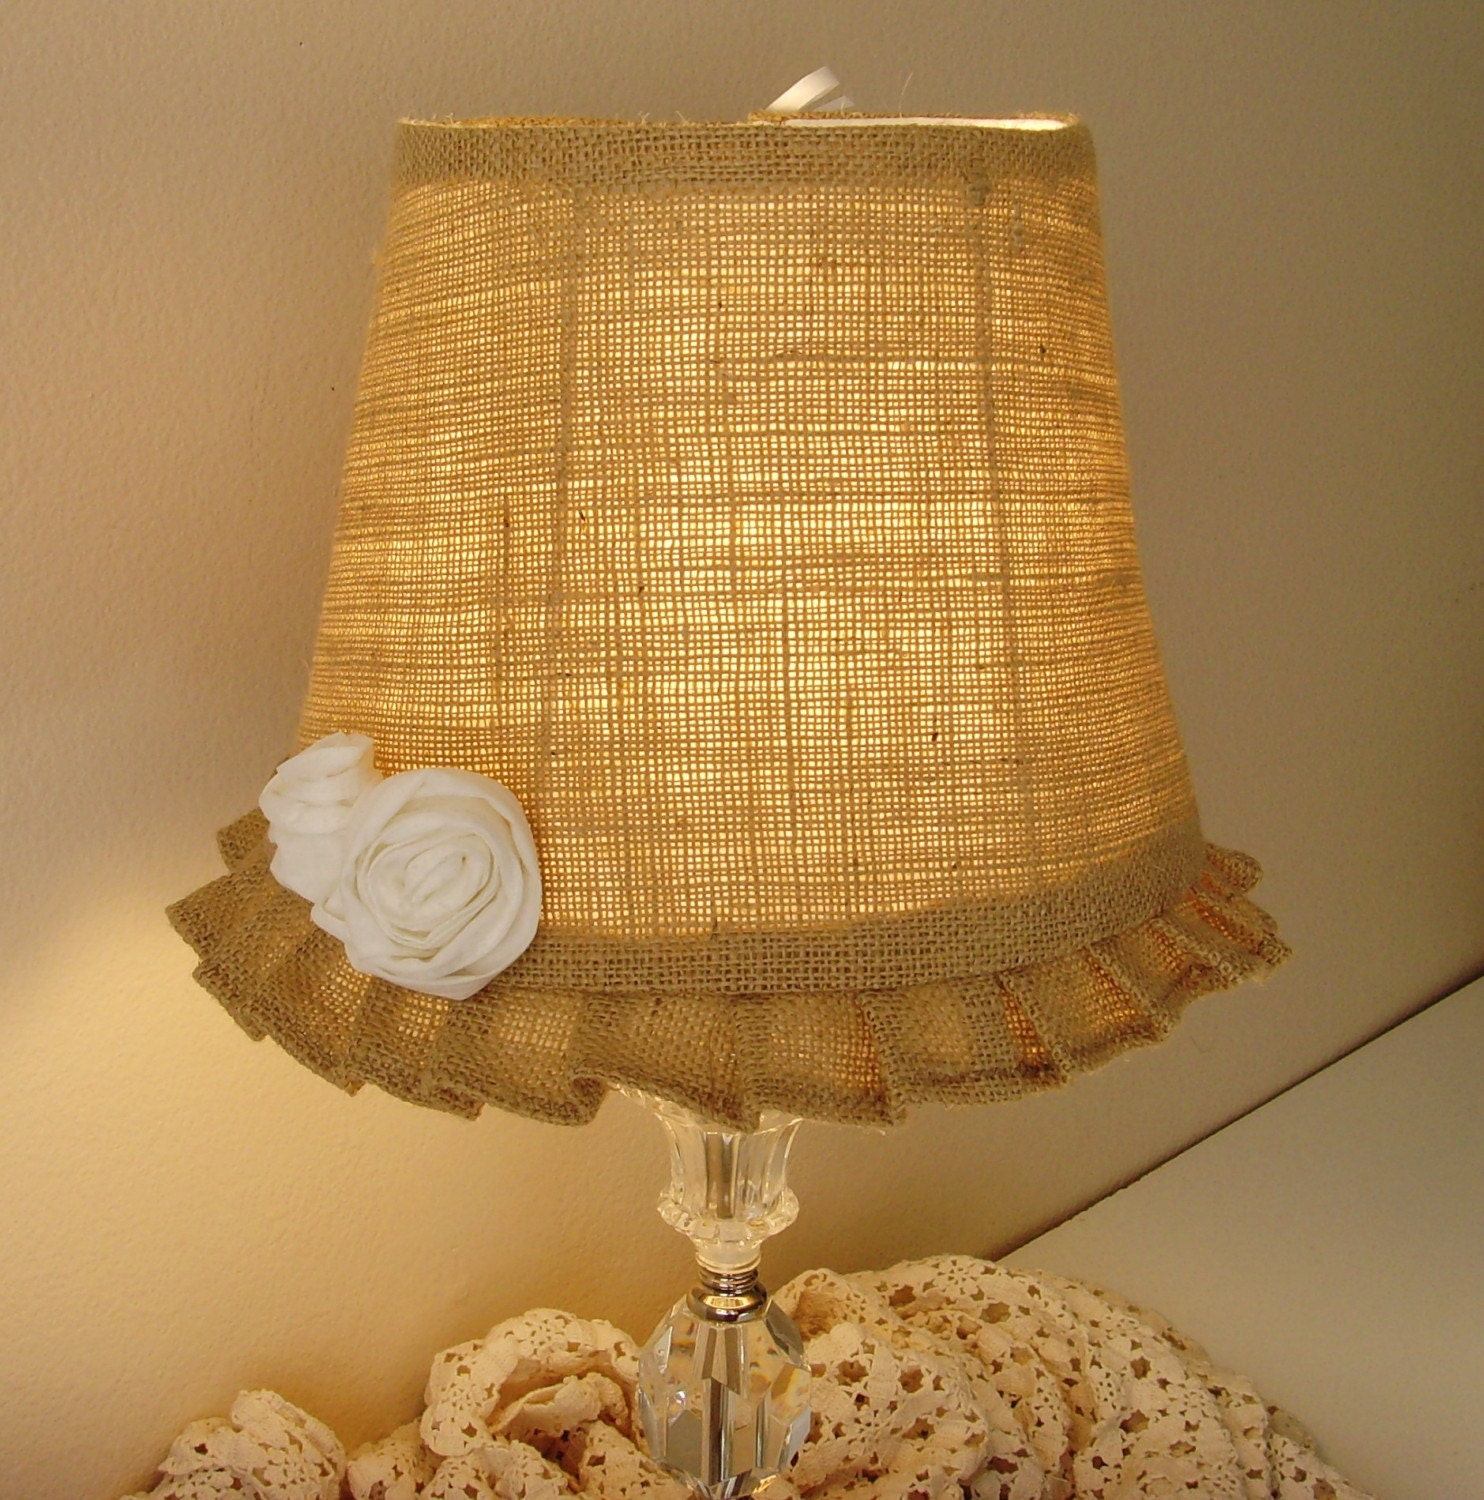
Final Product: Burlap Lamp with antiqued base.
It was a simple project, that I loved the end result.  It was simple enough to make, and since I wanted it to look layered, I didn't have to worry about being to precise.  Feel inspired...remember sometimes the quickest fix is using what you already have and just making it better. 
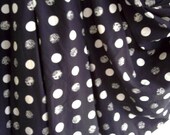
Here are some other ideas of burlap re-purposed lamp shades:

Sunday, August 14, 2011

coming soon...


I am currently in the process of making this! I am using napkins instead of crepe paper but I am still getting the same effect. Final photos coming soon!

Thursday, August 11, 2011

Thrifty Thursday: Clothespin Picture Line

The project I created today was made for a friend's classroom bulletin board.  I wanted to create an easy way for her to hang personal snap-shots in a creative and cute way.  She mentioned that she loved polka-dots, and that was an easy inspiration. 
I decided to make a clothespin picture line.  She ended up loving it so much that we incorporated the same idea in other parts of her classroom.  This whole project ended up costing around $1.00!

Supplies Needed:
Clothespins
Scrapbook Paper
Scrapbooking Paper Cutter
Mod Podge (works better than glue, for a clean finish)
To begin, I selected a scrapbook patten that went with not only the polka-dot inspiration, but also the colors of the space.  I then measured the clothespins and cut the paper to the desired length and width.  All you have to do then, is brush a small amount of the Mod Podge onto one side of the clothespin, place the cut paper on top and brush more of the Mod Podge on top.
Here is the overall look created for one of the bulletin boards in her classroom.  The open space was left for her to place school information and meeting information.

Wednesday, August 3, 2011

Burlap Earring Stand

Got another old frame at a garage sale, and finally decided what to do with it.  We put our heads together and using some of our favorite materials created something that I am pretty proud of.  We chose to make a earring stand that would hang on the wall.

Supplies Needed:
Old Frame
Burlap
Paint
Letter Stencil
Hot Glue
Step 1: Paint the frame your desired color.
Step 2: Use the letter stencil to paint on your desired letter(s) or word(s).
Step 3: Stretch the burlap so it fits into the back of the frame nice and tight.
Step 4: Add any extra decorations to the frame if you desire.
Final Product; Wall art with a purpose.
Check out the close-up photo of the frame in 'The Shop.' We can custom make this for you, or hopefully it inspired you to create something of your own.