Saturday, October 29, 2011

Framed Burlap.

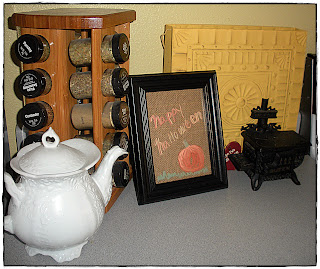
Kinsey and I wanted to do a quick craft for fall.  We also knew we wanted to do something with burlap since it is easily accessible, and the possibilities are endless.  Our solution, framed burlap:
Supplies Needed:
Frame (new or old)
Burlap
Permanent Marker
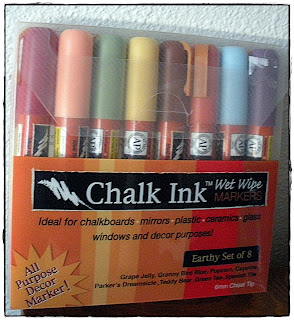
Liquid Chalk
So easy to use, and lasts for a long time.

We started with cutting the burlap down to fit within the frame.  Next, we measured out a weekly calendar, and drew on the burlap with a permanent marker:
We had two complete projects, both a little different, but so simple, and so easy to customize to your own home and decor:

Monday, October 3, 2011

book vases

I was flipping through the channels on TV and saw these on the Nate Berkus show. I searched around online and found a really good blog (Sweet Paul) with a step by step tutorial. They are so simple and easy, and they don't cost much at all! I hope you love these as much as I do!


1.Create a template on some thin cardboard.
Draw the profile of half a vase.
Don't make them to complicated, at least not at first.
 
2.Cut it out with sharp craft scissors.
 
3.Insert the template in an old book opened on the first page.
With a sharp craft knife cut along the template.
Keep on going until you are through all the pages of the book.
 
4.Cut of the book's covers and remove the template.
Open the book and fold it backward, before gluing the pages together with a hot glue gun.
 
Photos by Ellen Silverman
 
There are so many options for this project. I am looking forward to working on it! Have fun!
Saturday, October 1, 2011

Barn Wood Signs

Having signs around your home is something that many designers and homeowners are gravitating towards.  They come in many different sizes, and shapes, and offer a variety of sayings.

Purchasing a sign at a store can cost anywhere from $10 to $30 depending on the size and the length of the saying.  Often times, those signs look manufactured; probably because they are.  I knew that I wanted something different, and somewhat personal.

Supplies Needed:
Wood fence slat
Hand-held saw
Letter stencils
Paint

 I knew that I wanted to create more of a vintage-style sign, so I got a old wooden fence slat, and cut it down to the size that I wanted.

Next, I used large letter stencils to paint on the word that I selected.

FINAL PRODUCT: One standing vertical, and the other one is able to hang on the wall: