Saturday, October 29, 2011

Framed Burlap.

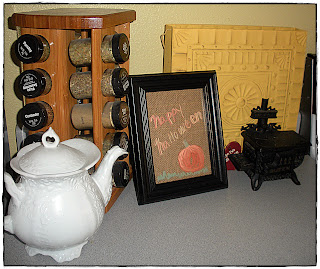
Kinsey and I wanted to do a quick craft for fall.  We also knew we wanted to do something with burlap since it is easily accessible, and the possibilities are endless.  Our solution, framed burlap:
Supplies Needed:
Frame (new or old)
Burlap
Permanent Marker
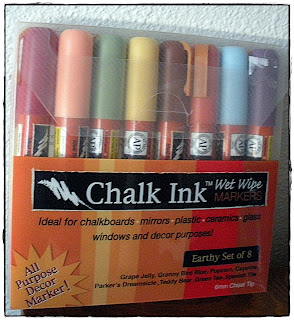
Liquid Chalk
So easy to use, and lasts for a long time.

We started with cutting the burlap down to fit within the frame.  Next, we measured out a weekly calendar, and drew on the burlap with a permanent marker:
We had two complete projects, both a little different, but so simple, and so easy to customize to your own home and decor:

Monday, October 3, 2011

book vases

I was flipping through the channels on TV and saw these on the Nate Berkus show. I searched around online and found a really good blog (Sweet Paul) with a step by step tutorial. They are so simple and easy, and they don't cost much at all! I hope you love these as much as I do!


1.Create a template on some thin cardboard.
Draw the profile of half a vase.
Don't make them to complicated, at least not at first.
 
2.Cut it out with sharp craft scissors.
 
3.Insert the template in an old book opened on the first page.
With a sharp craft knife cut along the template.
Keep on going until you are through all the pages of the book.
 
4.Cut of the book's covers and remove the template.
Open the book and fold it backward, before gluing the pages together with a hot glue gun.
 
Photos by Ellen Silverman
 
There are so many options for this project. I am looking forward to working on it! Have fun!
Saturday, October 1, 2011

Barn Wood Signs

Having signs around your home is something that many designers and homeowners are gravitating towards.  They come in many different sizes, and shapes, and offer a variety of sayings.

Purchasing a sign at a store can cost anywhere from $10 to $30 depending on the size and the length of the saying.  Often times, those signs look manufactured; probably because they are.  I knew that I wanted something different, and somewhat personal.

Supplies Needed:
Wood fence slat
Hand-held saw
Letter stencils
Paint

 I knew that I wanted to create more of a vintage-style sign, so I got a old wooden fence slat, and cut it down to the size that I wanted.

Next, I used large letter stencils to paint on the word that I selected.

FINAL PRODUCT: One standing vertical, and the other one is able to hang on the wall:

Friday, August 19, 2011

Lighting Repurpose

Lighting in a room is something that can drastically change not only the look of a room, but also the atmosphere.  Thankfully there are a lot of options out there to try.  Sometimes though, lots of options also means the question of, "Where do I start?" comes out.  Another issue is price.  While shopping for a new light I was surprised with how much a shade can cost.  Finally, it occurred to me that I didn't have to love the color, all I needed to worry about was the shape of the shade, and from there I could create!

Lately I have had this love of burlap...bet you couldn't tell that from any of the last posts.  Anyway, I knew I wanted to re-create a desk lamp, and make it look less 'store-bought,' and more unique.  I started off with a white base, and a white lamp shade.

Supplies Needed:
Lamp and Shade to Repurpose
Paint
Burlap
Hot Glue Gun
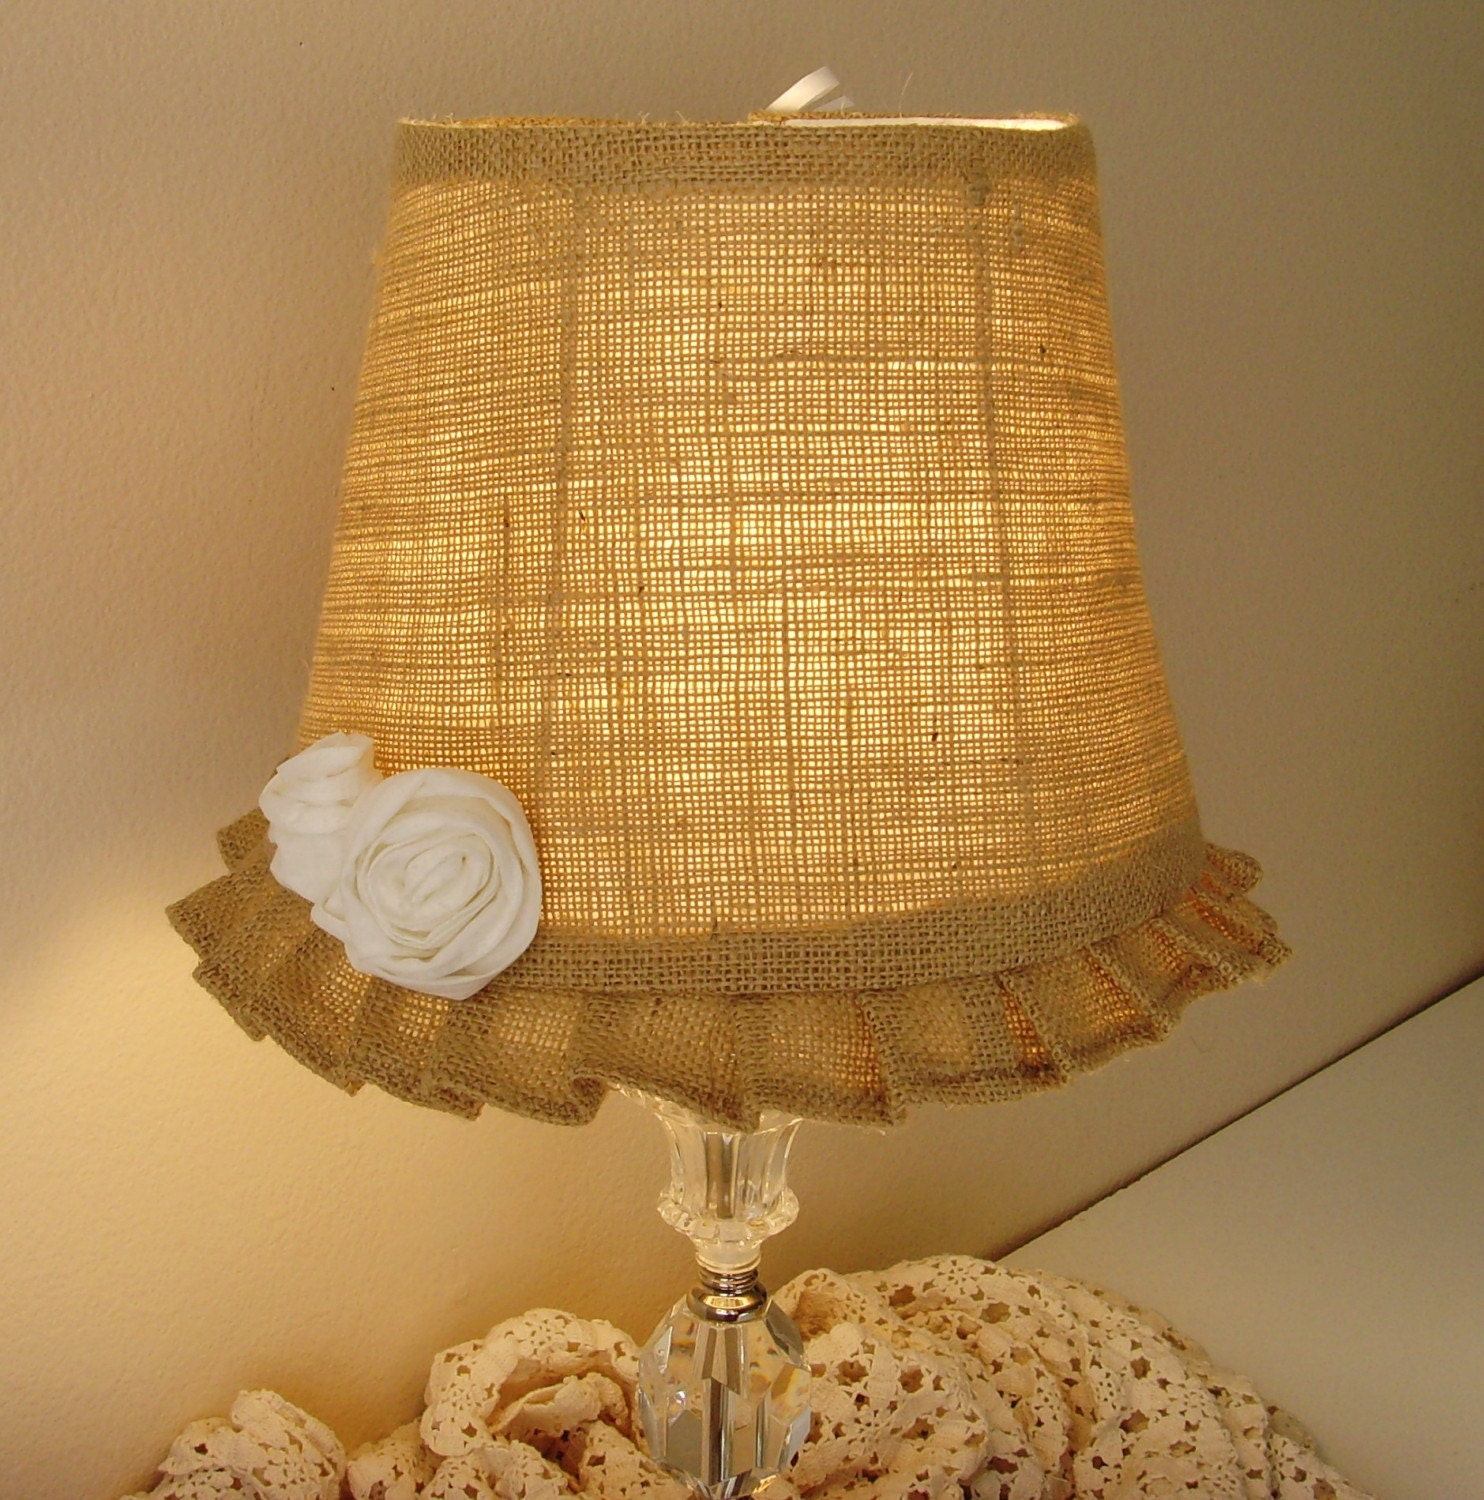
Final Product: Burlap Lamp with antiqued base.
It was a simple project, that I loved the end result.  It was simple enough to make, and since I wanted it to look layered, I didn't have to worry about being to precise.  Feel inspired...remember sometimes the quickest fix is using what you already have and just making it better. 
Here are some other ideas of burlap re-purposed lamp shades:

Sunday, August 14, 2011

coming soon...


I am currently in the process of making this! I am using napkins instead of crepe paper but I am still getting the same effect. Final photos coming soon!

Thursday, August 11, 2011

Thrifty Thursday: Clothespin Picture Line

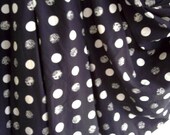
The project I created today was made for a friend's classroom bulletin board.  I wanted to create an easy way for her to hang personal snap-shots in a creative and cute way.  She mentioned that she loved polka-dots, and that was an easy inspiration. 
I decided to make a clothespin picture line.  She ended up loving it so much that we incorporated the same idea in other parts of her classroom.  This whole project ended up costing around $1.00!

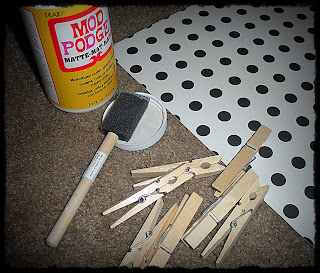
Supplies Needed:
Clothespins
Scrapbook Paper
Scrapbooking Paper Cutter
Mod Podge (works better than glue, for a clean finish)
To begin, I selected a scrapbook patten that went with not only the polka-dot inspiration, but also the colors of the space.  I then measured the clothespins and cut the paper to the desired length and width.  All you have to do then, is brush a small amount of the Mod Podge onto one side of the clothespin, place the cut paper on top and brush more of the Mod Podge on top.
Here is the overall look created for one of the bulletin boards in her classroom.  The open space was left for her to place school information and meeting information.

Wednesday, August 3, 2011

Burlap Earring Stand

Got another old frame at a garage sale, and finally decided what to do with it.  We put our heads together and using some of our favorite materials created something that I am pretty proud of.  We chose to make a earring stand that would hang on the wall.

Supplies Needed:
Old Frame
Burlap
Paint
Letter Stencil
Hot Glue
Step 1: Paint the frame your desired color.
Step 2: Use the letter stencil to paint on your desired letter(s) or word(s).
Step 3: Stretch the burlap so it fits into the back of the frame nice and tight.
Step 4: Add any extra decorations to the frame if you desire.
Final Product; Wall art with a purpose.
Check out the close-up photo of the frame in 'The Shop.' We can custom make this for you, or hopefully it inspired you to create something of your own.

Thursday, July 28, 2011

Thrifty Thursday: Drawer Organizer

I was trying to find the perfect clip for my hair, but I couldnt' find it.  The problem wasn't that I didn't know where it was, it was in my bathroom drawer; the problem was I couldn't find it in the drawer.  Being someone who likes things in their places, I knew I needed to do something.  I also knew I wanted to do something cheap.

On a trip to IKEA, I found my solution.  In the kitchen section I discovered the 99 cent utensil trays!  Not only was it cheap, but it had multiple sized openings for all my various things that were once scattered in my drawer.   This was such a simple fix, but was one that made a large impact.

BEFORE
AFTER
It is amazing how simple changes can make all the difference.

Monday, July 25, 2011

Burlap Love

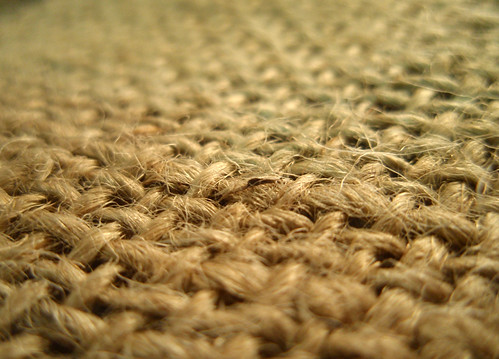
Burlap is a fabric that many would not consider something to include in home and accessory design, but lately burlap has become the 'new' must-have.  There are many different ways this material has been used, and since it is often times cheaper than most other fabrics, it's hard to go wrong with trying new design.
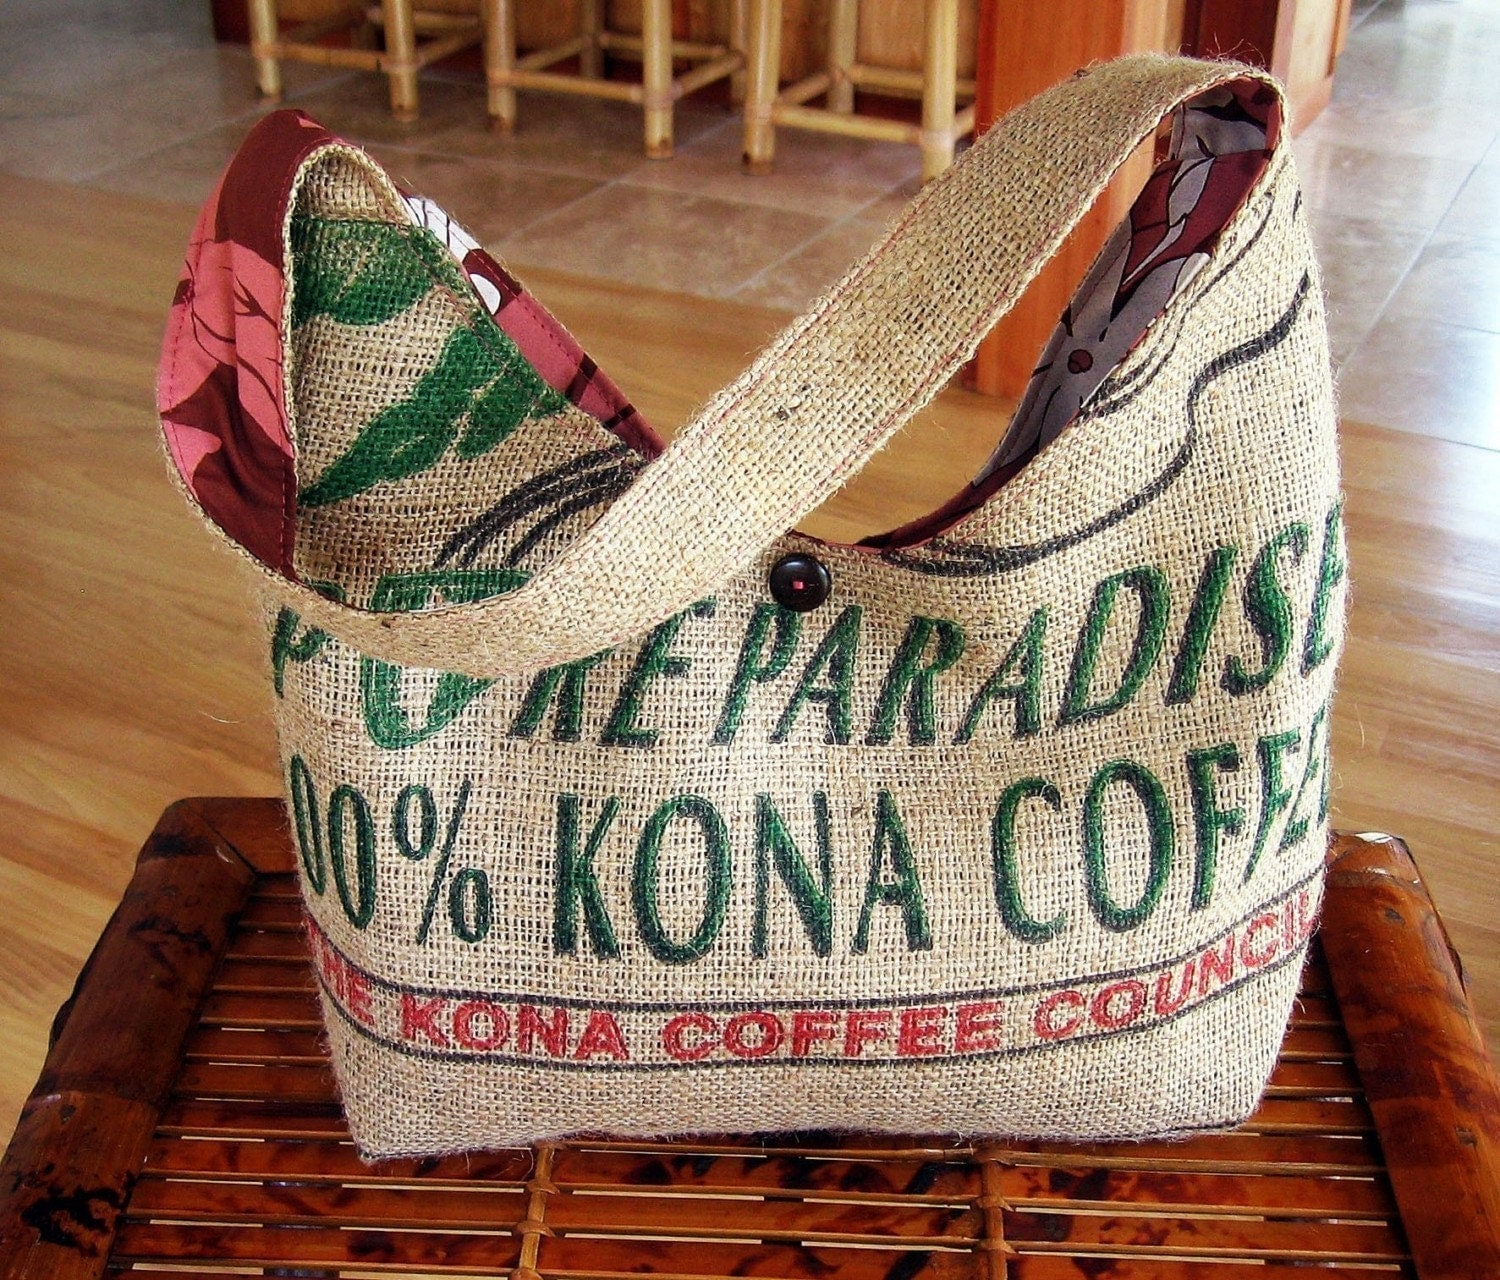
 If you've been to an local coffee shops lately, it is almost guaranteed that you will find a purse made with the burlap coffee bags, priced at around $40-$50.  The great thing about the Internet is you can purchase your own coffee bean bags for as little as $2 at popular websites like eBay and Amazon.com.
Burlap is also a fabric you can purchase at a local fabric or craft store to make things like: chair covers, curtains, pillows, decorative flowers, etc.  To create some of these things all you need is the fabric, and then a patten that you can find free online.
With burlap you really can't go wrong, now it's just time to be creative.

Thursday, July 21, 2011

Thrifty Thursday

It is Thursday, so our goal is to have one 'thrifty' idea that you might want to try on your own.  This is a project that I have been wanting to do for awhile, and just haven't made the time to do it until last night.  I found this great large frame at a local thrift store for $3, that had no backing or glass.  I knew that I not only wanted to antique it, but I wanted it to display things differently than your standard frame.
So, I decided to use some things I had in my craft box to create what I wanted.  

Supplies Needed:
Frame
Hemp or String
Staple Gun
Clothespins

It was really simple to start.  I measured about 4 1/2" for the spacing between the hemp lines on the back of the frame.  Then I cut the hemp long enough so I could tie a knot at either end, and have it stretch across the whole back of the frame.  Finally, I used the staple gun to attach the hemp to the back of the frame.  Here was my final product that I made for under $4:
"Clothespin Frame"

Wednesday, July 20, 2011

wall showcase

Photo Wall: A great way to showcase your pictures!

For this particular wall I made all of the pictures black and white. I thought that it flowed well with the room and went with the look I was going for.

Tuesday, July 19, 2011

Bella Blossom Necklace

Beautiful vintage looking necklace.  This is a necklace that can be easily customized with different fabric and ribbon.  Check the shop if you are interested.

Supplies Needed:
Hot Glue Gun
Fabric
Ribbon
Felt/Backing Fabric

You need a strip of about 2 1/2" to make one fabric flower.
Fold the fabric in half and tie a knot at one end.
Use the hot glue to attached the fabric.  Twist and curve around the flower.
Keep twisting and gluing until you are satisfied with the size of the flower.
Once you have your flowers made, use the felt or backing fabric to attach the necklace.
"Bella Blossom" Necklace $12 (five flowers)

Sunday, July 17, 2011

{Vintage inspired floral headbands}

"Abby" Vintage inspired flower headband
$10


"Melanie" Vintage inspired floral headband
$10


These are great accessories for any outfit or occasion! Feel free to look; maybe even get some of your creative juices flowing!

Decorating. Crafting. Living.

Decorating an entire home can become, and is a daunting task.  It would be so much easier if you had endless funds and time to think up projects and complete them.  Lets be honest through, our time gets filled up much to quickly, and our wallets empty much to fast.  We might think of a great idea, but by the time we get an afternoon to start it, we've forgotten what it was we were intending to do.  I have been there.
 I have struggled with the fact that I can't fix all that I see 'wrong' with the rooms in my home in one weekend.  For me decorating is an evolving process, one that actually I enjoy not rushing.  It is amazing how when you are forced to take your time, you become inspired by many different things, things you might have missed if you had sped through the process.
My approach on design is one of creativity, using materials in a cost effective way and having fun.  I have learned that sometimes the end result doesn't happen quickly.  This blog will embrace that, and hopefully give you some inspirations to begin the road to design in your own life.

Decorating. Crafting. Living.